
|
I have had experience working with iMovie before in a couple of classes in High School. I hadn't, however, ever made a trailer till now. There were two main things I like about the trailer feature: It had templates and it was simple and efficient. A good template to start with is very helpful in making a project like this move quickly and still be high quality. This feature was also a cause of what I didn't like. There is very little flexibility in the trailer portion of iMovie. This frustrated me when I wanted more pictures with one part and less with another or
|
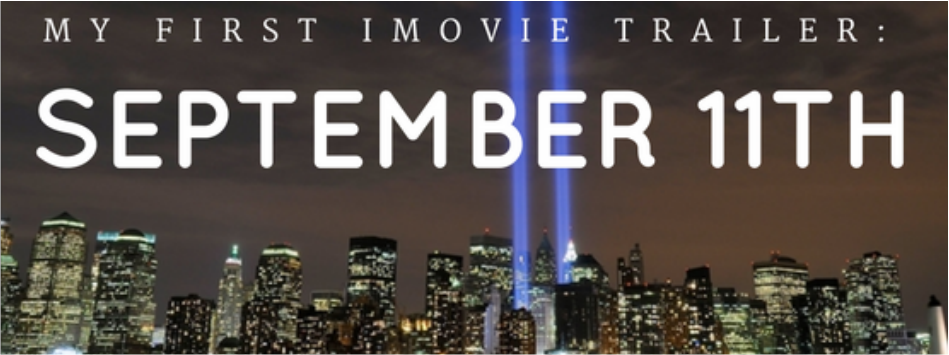
when I found a really good theme, but the music didn't fit. Another upside/downside to the app is that it is free for the first user of an iDevice, but for the following users it costs $4.99. As I mentioned before, I have used this app many times before in class. In these experiences we used it to create projects over things we had learned. In the instance of the trailer I made (above) this could be used to create suspension for the next lesson You could also use it to start class with and create some conversations after watching it. This would be a great tool for making kids wonder and start getting questions in their head about a topic. I could, for example, play this video at the start of my class and then ask students to journal on what they remember (this would vary on the group as some students were not alive yet) or know about 9/11. We could also jump right into conversation and table talk about questions I have prepared on the subject or have a group discussion. Another way I would use this is to play it at the end of class. After playing it I would tell them to be thinking about that day and what they effects were/may have been (once again, may vary depending on age). I also might assign a paragraph or two of journaling while outside of class on what their thoughts are on this event. That would get them to start thinking about it critically and be prepared for discussion at the beginning of the next class period. Overall, this app has a lot of potential and could be used for any subject on any topic to help get students excited for a lesson.
|
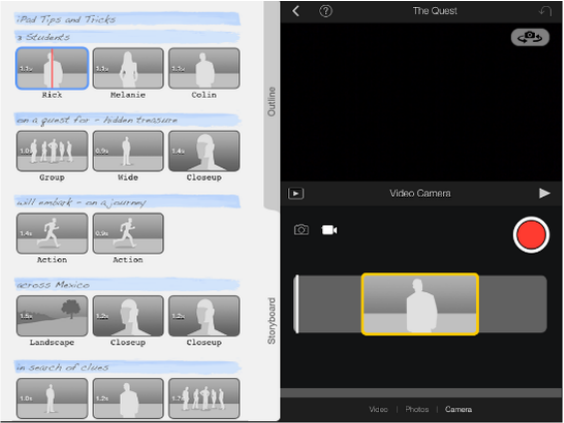
Here is an example of what the screen looks like on an iPad when making a trailer. As you can see, the parts that have words and where the pictures are is already set. You just choose the photos/videos you want in your movie from your camera roll and insert them in the spots you want them in. To change the words you just click on the blue bars and type what you want. As I mentioned before, there is no deleting/rearranging of pictures or pages with words on them so you just have to work around that. For a project like the one I made for this it wasn't much of a problem. For something more elaborate, you will want to use the movie feature instead.
|
|
